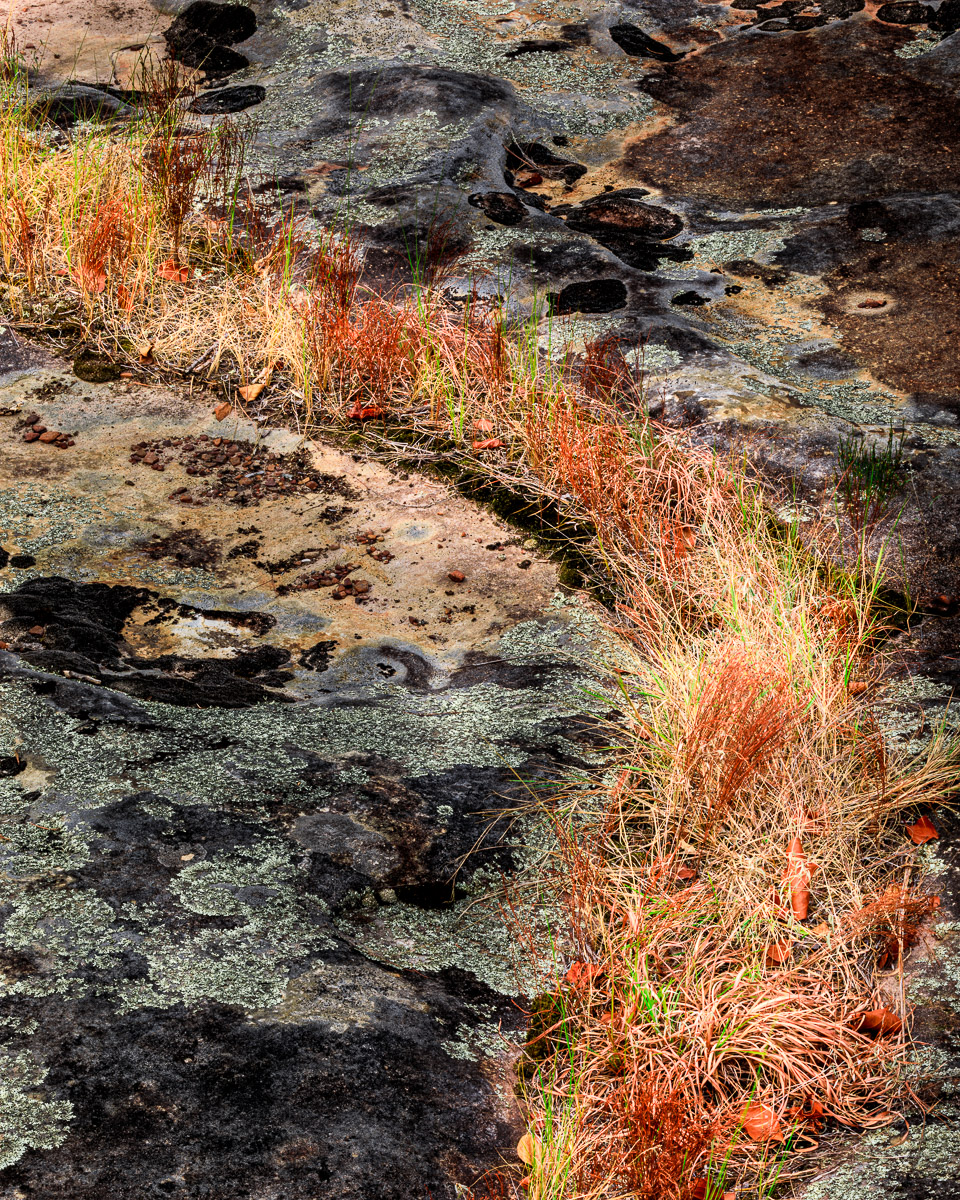
On a recent trip to Petit Jean State Park with my wife and dog in tow, I headed to an area known as Turtle Rocks. It is easy to get to and doesn’t have much in the way of steep inclines, so I thought it would be a great place for me to do some photography while my travel partners walked around for a while.
The area gets its name from the unique rock formations that resemble turtle shells. No one really understands how this type of formation is created, but one theory is they are formed through a type of chemical weathering. This occurs when water moves through not only the rock but also through individual sand grains. The sand grains then loosen and separate from the rock, which widens the rock’s natural fractures creating a rounded, turtle-like shape. Regardless of how they are formed, the turtle rocks are a very unique and interesting thing to see.
With the sun behind a thin layer of clouds, the lighting was relatively soft and didn’t provide enough contrast to really accentuate the shape of the formations. So, I decided this was a good time to explore other possibilities.
After walking around for a few minutes, I spotted this scene. Three things caught my eye when I saw this: the contrast between the cool tones of the rock and the warmer tones of the strip of grass, the curving line of the grass, and the abstractness of the scene. I photographed the scene from a number of angles, but this image ended up being my favorite.
When photographing in the RAW format, as I do, the images that come straight out of the camera will have very little contrast and look very flat. Because the contrast in the scene was one of the qualities that attracted me to it in the first place, it was critical to get that quality back.
In Lightroom, I made my initial enhancements by adjusting the sliders for exposure, contrast, highlights, shadows, whites, and blacks. I then used the adjustment brush to make adjustments to more specific areas of the image. I used one adjustment brush to reduce the exposure and saturation in the areas of rock, while a second adjustment brush was used on the line of grass to slightly increase the exposure in that area.
My camera has a native 3:2 aspect ratio, but this left a small area of grass at the bottom of the frame that I felt was distracting. So, I cropped the image to a 4:5 aspect ratio, which eliminated the distracting area of the image.
Opening the file in Photoshop, I used Topaz Labs’ Sharpen AI program to sharpen the image. Finally, using the Levels command in Photoshop, I tweaked the image just a little bit more to further enhance overall contrast and create this final image.
