Eureka Springs is one of the most unique cities in Arkansas and, perhaps, in the country. The town is filled with Victorian-style cottages, manors, and other buildings. The town has no traffic lights, and the streets are so curvy and steep that few of them intersect each other at right angles, and some of the downtown buildings actually have more than one street level entrance. Eureka Springs is truly an interesting place to visit.
I haven’t visited Eureka Springs in several years. But, a couple of weeks ago, I had the opportunity to make a trip to the town. Unfortunately, I was there for work, so my photographic opportunities were pretty limited. Knowing this, I decided to leave my main camera gear at home and just take my little Canon G9X II. It does not have all of the capabilities and functionality of my big camera, but it allows me to capture images in the RAW format. And, at 20 megapixels, it provides more than enough resolution for me to do just about anything I would do with my main camera from a processing standpoint.
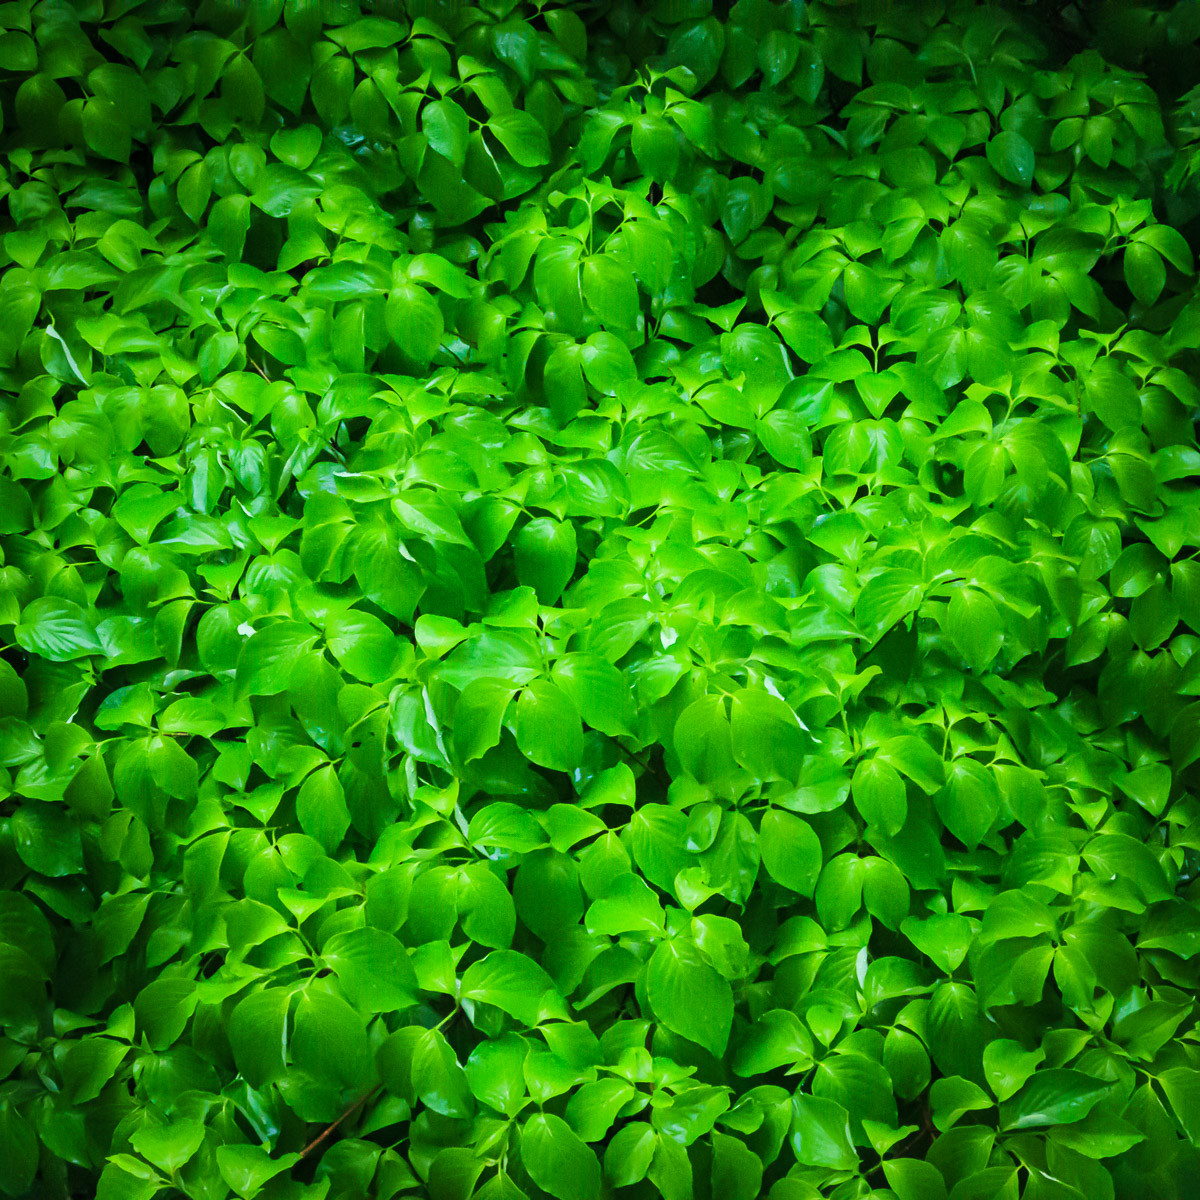
The first couple days went as I expected — too busy to even really look around. But, the morning of the third day provided a nice surprise. It had rained earlier in the morning, and the leaves on the trees and plants around the hotel were wet and glistening. The sky was overcast, which provided soft, even lighting. It was these conditions that caused my attention to be drawn to these tree leaves that were just outside the door of my hotel room. Without hesitating, I went back into my room and grabbed my camera.
The walkway to my room started at ground level, but, by the time I reached my room, I was 12 to 15 feet above ground. This provided the perfect perspective for the image I had in mind. Zooming the lens to its longest length, 30mm (equivalent to 84mm in my full frame camera), allowed me to fill the frame with the leaves.
A couple of storms were still brewing not too far from my location creating a breeze that was a bit problematic. I knew an aperture of f/8 would be sufficient to provide enough depth of field to get all the leaves sharp. Normally, I use the lowest ISO I can, but to do that in this situation would have required a shutter speed of a second or longer. There was no way the wind would die down that long. My only choice was to shorten the shutter speed to a more moderate 1/125 of a second and raise the ISO until I got a proper exposure, which in this case was 6400.
I knew an ISO that high would create a huge amount of digital noise, but that was the only way to get the picture. I could only hope that I could eliminate some of that noise later when I processed the image. I waited for a lull in the breeze, pressed the shutter button, and hoped for the best.
When I got back home at the end of the week, I opened the file on my computer. The lull in the wind combined with the shutter speed kept the leaves sharp, the aperture provided full depth of field, and the high ISO created a substantial amount of noise. Everything had turned out as I had expected it would.
Processing the image, I increased the contrast to mitigate the image’s flat, two-dimensional look caused by the soft, diffused lighting. I lowered the color temperature slightly and boosted the vibrance to enhance the green of the leaves and then added just a bit of texture and clarity.
Some of the corners were quite a bit darker than the rest of the image, but using the brush tool to increase the exposure of those specific areas brought them more in line with the rest of the frame. I then added a vignette to darken the edges of the frame and give the leaves in the center the appearance that they were glowing. It may seem crazy that I lightened areas that I was only going to darken with a vignette. But, applying the vignette to the unadjusted corners would have darkened them to the point of being almost black, and that wasn’t the look I wanted.
My biggest concern was the noise that was quite apparent in the image. Fortunately, Lightroom’s luminance noise slider did a very good job of removing most of that noise. There was also a small but very distracting hole in one of the central leaves, but I was able to use the spot healing tool to eliminate that. Finally, I opened the image in Photoshop and applied sharpening and some additional noise reduction with Topaz Labs’ Sharpen AI to get to the final photograph.
