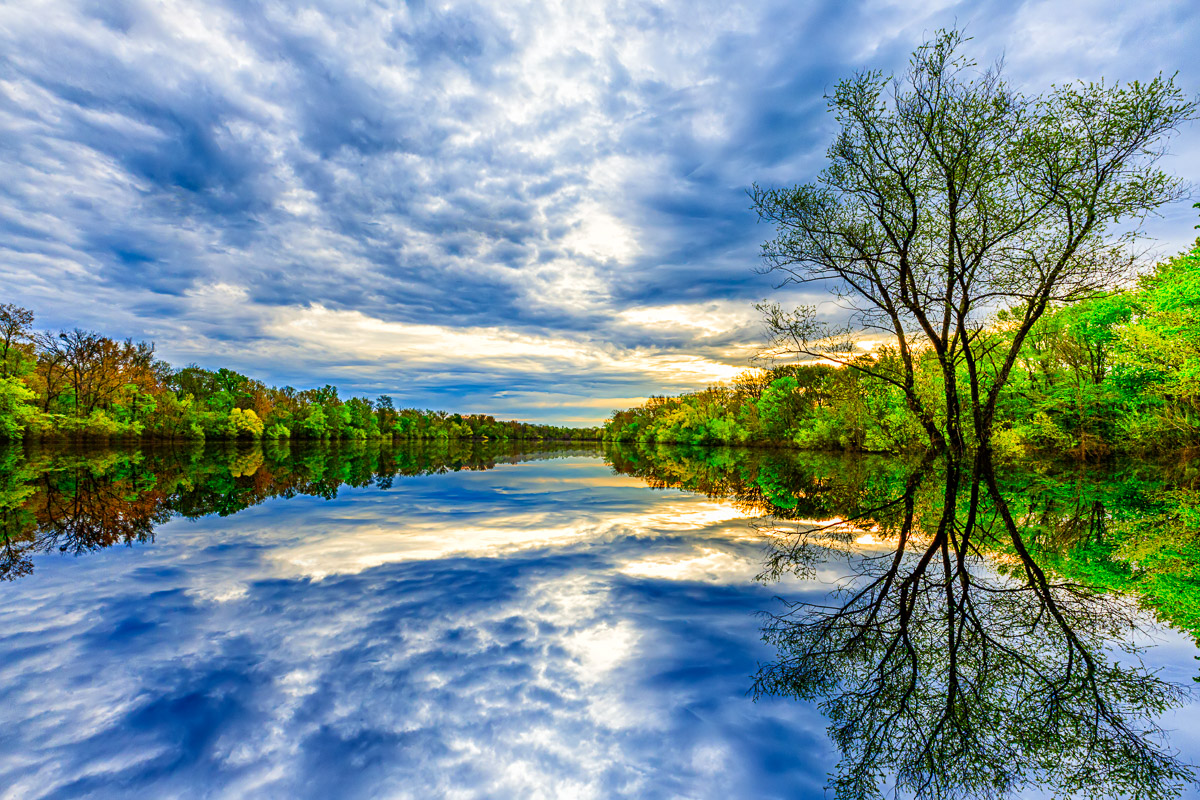
I shot this picture a few weeks ago at a small lake known as Gator Pond located in the Dagmar Wildlife Management Area. There are several things I like about this image: the convergence of the trees lining the lake creating a sense of depth; the dramatic texture of the clouds; and the sense of peace and tranquility the photograph conveys to me.
But, the one thing that really bothered me about the image as it was captured in-camera was all the small aquatic plants, broken sections of tree limbs, and the trash (especially the trash) that filled the lake in the bottom portion of the frame. These objects just seemed to add a level of tension to the photograph that seemed incongruous with the rest of the image. I would have preferred to eliminate them before I tripped the shutter, but there wasn’t any way to do that. My only choice was to clean it up after the fact.
I had two options to address this problem. The first option would be using Photoshop’s clone tool to clone out the undesirable elements, but that would take a great deal of time. The second option was to simply replace the entire surface of the water. I chose the second option.
To replace the surface of the water, I used the menu command Layer→Duplicate Layer to paste a second copy of the image on top of the original. In the Layers panel, I clicked on the background copy layer and then used the menu command Edit→Transform→Flip Vertical to flip the background copy 180 degree so the top of the layer was now at the bottom.
Once I created and flipped the layer, I just had to position it to create the appearance of a surface reflection. To do this, I lowered the layer’s opacity to 30% so I could see through to the underlying background. Then, using the Move tool, I carefully positioned the top layer to make sure everything lined up properly.
After everything was properly aligned, I added a layer mask to the duplicate layer, selected the layer mask, and used the brush tool to remove the portion of the duplicate layer that still covered the top half of the image. Then, reselecting the duplicate layer, I returned the layer opacity to 100% and opened the Levels dialog box to slightly darken the remaining portion of the layer.
When I was satisfied with the result, I used the command Layer→Flatten Image to combine the two layers into one creating the image seen here.
