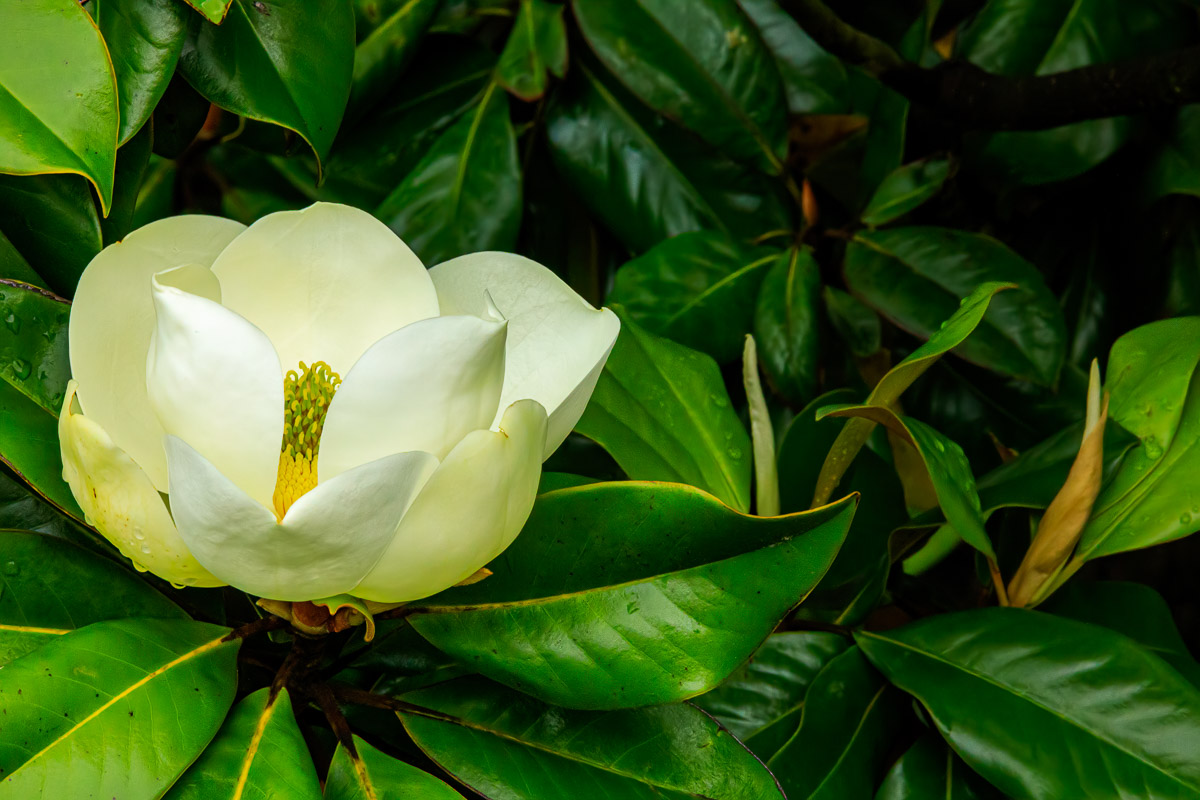
My wife and dog thought a break in rain showers would be the perfect time to take a walk to the nearby school. I thought it might be a nice opportunity to tag along and see if I could find something to photograph. Grabbing my camera and 70-200mm lens, I headed out the door.
I was walking along pretty slowly as I looked around, so it didn’t take very long for me to get left behind. I caught up with them at the school, and we began making our way home.
That’s when I saw the magnolia tree. I’m not sure why I had never noticed before. Perhaps I hadn’t really paid attention. Perhaps it was the diffused light of a cloudy day that made the blossoms stand out. Most likely, it was a combination of the two. Whatever, the reason, they grabbed my attention immediately. Walking over to the tree, I found this one bloom that was somewhat isolated from the background.
It’s not uncommon to see images like this composed with the subject positioned in the dead center of the frame, and composing the picture that way can often work. But, I wanted something different, so I decided to position the blossom in the left half of the frame. Personally, I think this created a stronger image.
With my lens set at 200mm, I was very concerned about the image being soft or downright blurry because of camera shake. I also had to consider depth of field because I wanted the entire image to be in focus, not just the magnolia blossom.
What I needed was a fast shutter speed and a small aperture, but this presented a challenge because I was handholding the camera. When holdholding a camera, fast shutter speeds and small apertures don’t usually play together well enough to create a sharp image.
Putting the camera on aperture priority mode and Auto ISO, I set the aperture to f/32. This was probably smaller than what I needed, but I didn’t want to take any chances on depth of field. The camera then chose a shutter speed at 1/160 of a second, a little slower than I would have liked, and an ISO of 5000.
Processing the file in Lightroom, I reduced the overall exposure slightly, added some contrast, lowered the highlights, and opened up the shadow a bit.
The higher ISO created some digital noise in the image, but I was able to remove that using Neat Image. Finally, I opened the image in Topaz’s Sharpen AI software and used the Stabilize processing mode to eliminate the ever so slight softness in the image.
