I’ve been to Collins Creek many times, and it’s one of my favorite locations to photograph. It’s about an hour’s drive from home, the waterfalls are always flowing, and, most importantly, it’s relatively unvisited. If you enjoy being outside enjoying nature by yourself, this is a perfect location to do just that.
An image I’ve always had in mind when I have visited Collins Creek has been a more head-on shot of the falls; however, that required me to stand in the creek itself to frame the picture I envisioned. Unfortunately, I didn’t have the equipment I needed to get that image. . .until recently.
When I made the trip to Collins Creek a few weeks ago, I made sure to take my newly purchased waterproof boots. When I arrived at the parking area, I immediately changed from my regular hiking shoes to my boots before heading down the short trail to the creek.
Reaching the creek, I put my camera gear on the ground and, with some trepidation, carefully stepped into the flowing water not knowing if my new boots would spring a leak. But, my socks remained dry, and I slowly worked my way to the center of the stream assessing the scene and finding just the spot I needed to capture the photograph I wanted. I made my way back to my equipment, attached my 24-70mm lens to my camera, attached the camera to my tripod, and waded back across the creek.
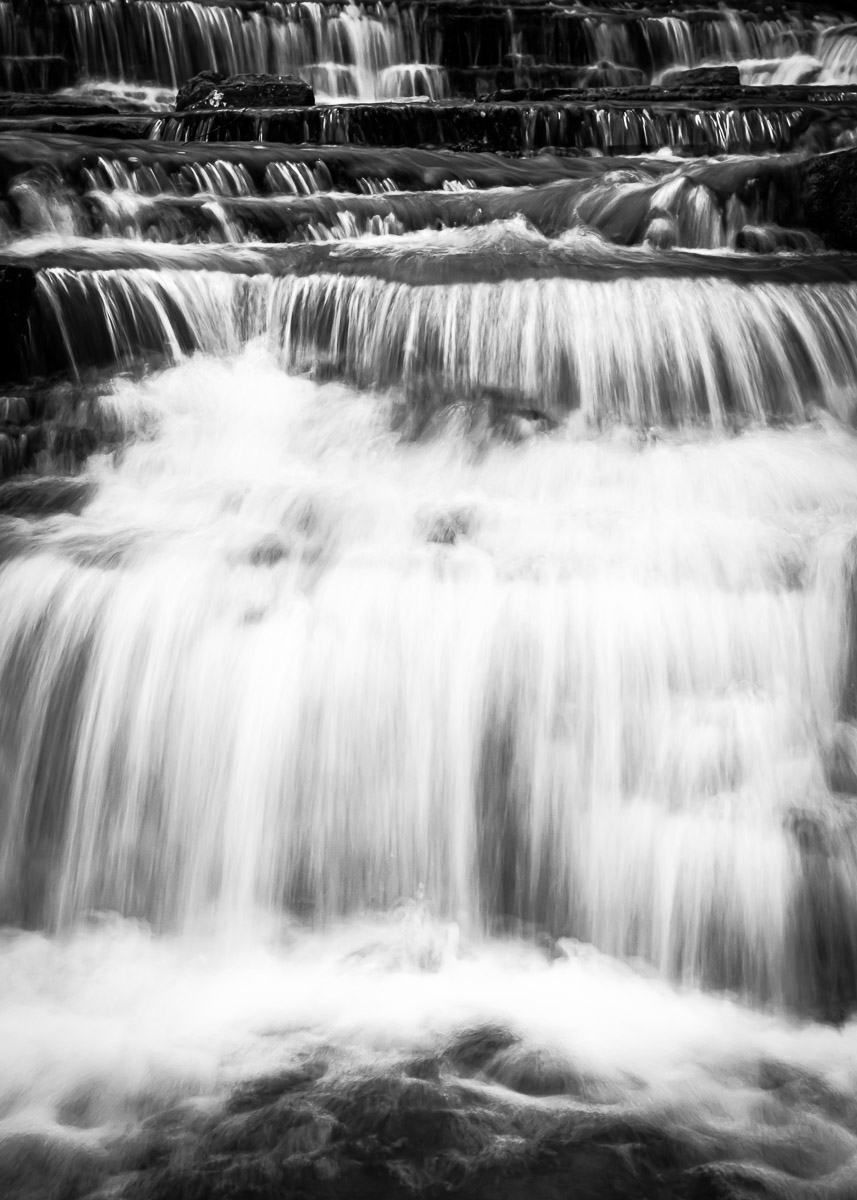
Setting my equipment up in the middle of the creek, I began to consider exactly how I wanted to compose the image. I knew the large foreground waterfall would be a prominent feature, but I didn’t want it to be the only feature. I wanted the picture to have some depth to it. With my lens set at a focal length of 70mm, I tilted the camera up slightly to include the series of waterfalls in the background.
Next, I had to decide just how smooth I wanted the water to be. Normally, when I photograph waterfalls, I use the longest shutter speed I can to blur the water so it looks silky smooth, and I tried that with this composition. But, when I reviewed the image on the back of my camera, I decided I wanted to retain some definition in the water. I began experimenting with different shutter speeds to find the one that gave me what I was looking for, which, in this case, turned out to be ¼ of a second.
Opening the picture on my computer, I spent a lot of time trying to process the image. I adjusted exposure, contrast, and saturation among other things. But, nothing was giving me what I had envisioned. Growing somewhat frustrated, I decided to convert it to black and white just to see what would happen, and I immediately realized that was the answer.
Unless the scene is already high contrast, contrast will be lost when converting an image to black and white. Adjustments need to be made to bring that contrast back, which I did. To enhance the illusion of depth in the photograph, I applied a radial filter to the background waterfalls and reduced the exposure. This darkened that part of the image giving a sense that those waterfalls were farther away from the camera.
After darkening the background waterfalls, I realized that the large foreground waterfall now seemed to be too bright. I applied a second radial filter to the foreground waterfall and reduced the highlights slightly so everything would blend together in this final image.
