When I first got into digital photography, my approach to processing images could only be described as heavy handed. My adjustments often affected the entire photograph when what I needed was something that affected only a small portion of the file. In other words, I used a proverbial sledgehammer when, instead, a scalpel was needed. In many cases, the final result was less than ideal and certainly not what I had envisioned.
As my photographic skills have continued to improve over time (but more slowly than I would like), I find my processing skills have also been on the same upward path. And, I am more willing now than I was just a few years ago to make whatever adjustments I need to make, including cropping, to create the image I want to create.
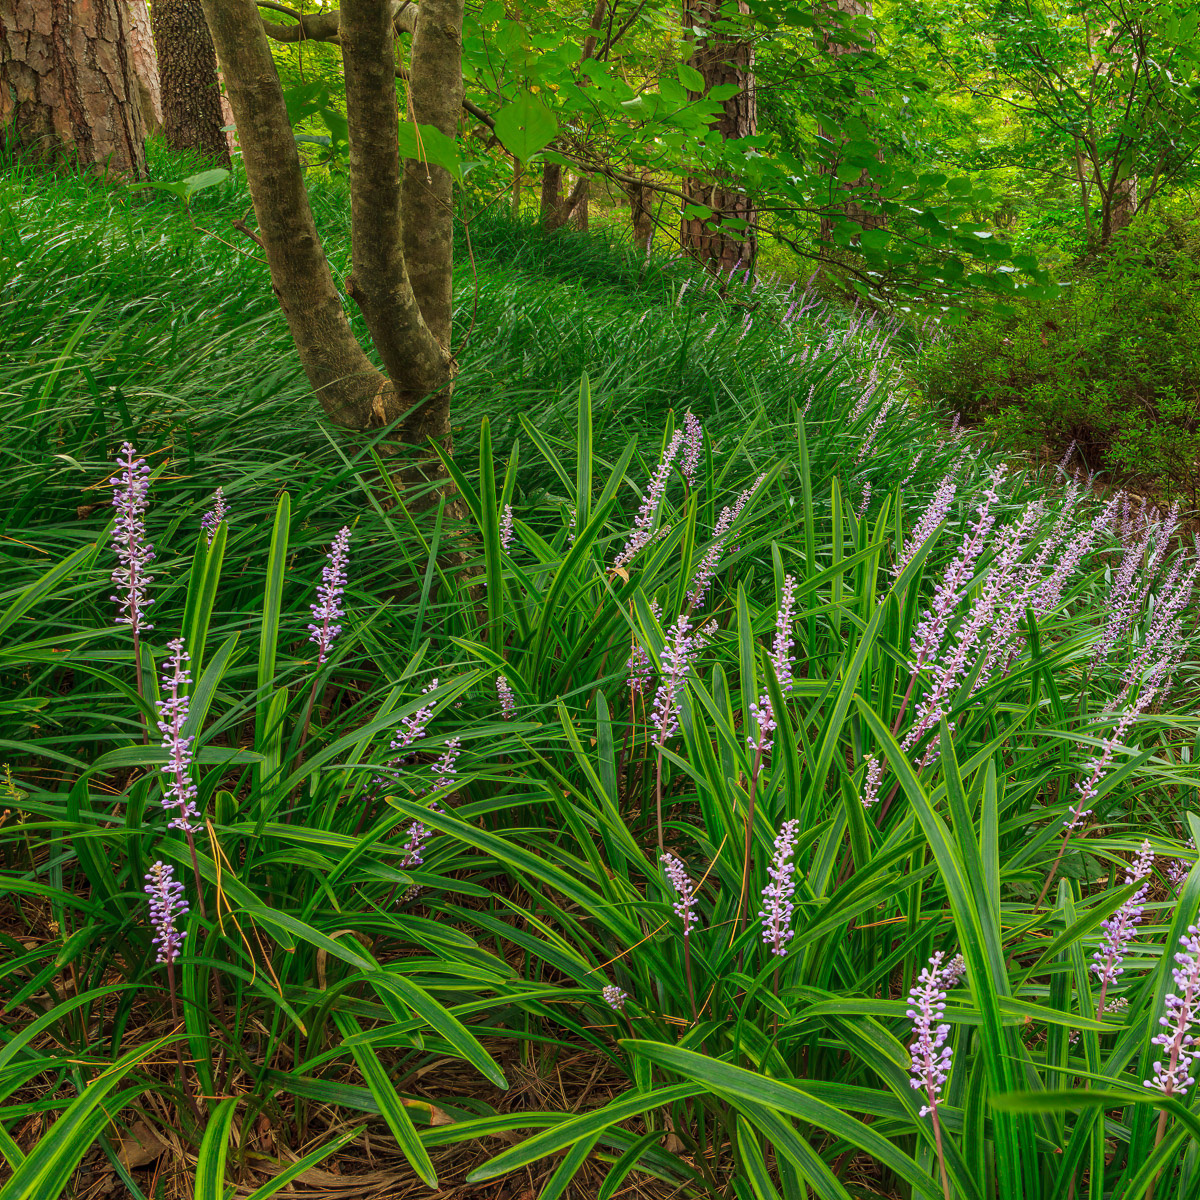
With these new skills, I will occasionally look through my photo library with over 9,500 (and growing) unprocessed RAW files to see if there are any images that I might now be able to work with. This photograph is an example of one that, having languished on my hard drive for several years, I was finally able to create something I like.
I took this picture in 2013 at Garvan Woodland Gardens in Hot Springs, Arkansas. I always liked the general nature of the image, but there were two things that bothered me about it. First, I took this at about 9:00 that morning, so the lighting was quite contrasty. Second, the overall sharpness of the image was lacking. I was never able to do much to correct those two issues, so I filed it away and soon forgot about it.
I recently stumbled across this picture again. As I looked at it, I wondered if there was anything I could do to “salvage” it. This is where eight years of enhancing my skills with Lightroom and Photoshop, not to mention advances in various software, came to the forefront.
The first thing I did was crop the image into a 1:1 aspect ratio, a square, to eliminate some unruly vegetation on the right side of the frame that didn’t add anything to the picture. Next I made several tonal adjustments to reduce the overall brightness of the scene and add some contrast that helped accentuate the flowers and grasses particularly in the foreground.
My next few adjustments are what really turned this picture into what I had envisioned. I wanted to saturate the colors, but I avoided using the basic Saturation slider because it would affect all colors in the image. I wanted to enhance only three colors: greens, yellows, and purples. To do this, I used Lightroom’s Hue/Saturation/Luminance sliders. I had never really tried this before, and I was excited to see how well that turned out.
The background was still brighter than I wanted it to be, which drew attention away from the foreground. To address this concern, I used the adjustment brush to reduce the exposure and highlights of the background leaves near the upper right corner of the picture. This brought the brightness more in line with, to just slightly darker than, the foreground and helped balance the overall lighting.
The final step was to improve the sharpness of the image. To do this, I opened the file in Photoshop and used the Topaz Labs plug-in Sharpen AI, which did an amazing job of sharpening the photograph.
